This post was originally part of my series on Python for Feature Film on my personal site, but is being ported here with minor changes. The dates have been adjusted to match release dates for the projects.
In Part 5 of this blog series, I’ll be going over the work we did for Suicide Squad. One of 2016’s most hyped films, it landed with a critically derided meh. I won’t go into the behind the scenes of why the movie went from A+ to D- in a heartbeat, there are plenty of articles out there that talk about what happened, but instead I’ll talk about the challenges we went through to bring some amazing visuals to the screen.
For the record, I honestly don’t think it was as bad as it was made out to be. It was definitely not great, but it was fun enough and I’ve seen worse films get better reviews. I’ve totally seen worse superhero films, and it doesn’t excuse it, but I feel the hate was a direct response to the immense hype, and not totally objective. But then again, maybe I’m not objective myself having worked on it.
Also my favorite review that I’ve read states: “If 2016 could be summed up in a movie, it would be Suicide Squad”. Ouch!
Challenges and Craziness
So for this movie, we were responsible for two primary characters.
Incubus (The big orange dude) and Enchantress (the lady in the green dress with the eyebrows).
Incubus
Incubus was of course fully CG. You can see him in the trailer as the guy who destroys the subway train.
This was lost in translation in the final movie, but he actually absorbs everything he destroys. There’s like a mini universe inside him. If you were to pause on a frame of him and strip away his armor, there’s floating heads, eyeballs, guns, and even an entire tank inside of him.
Unfortunately with all the other effects, and the armor, it totally gets lost.
He also fires these tentacles outwards when destroying things. We made good use of the tentacle technology that was developed for Edge of Tomorrow by Dan Sheerin, to make the tentacles that he fires.
Enchantress
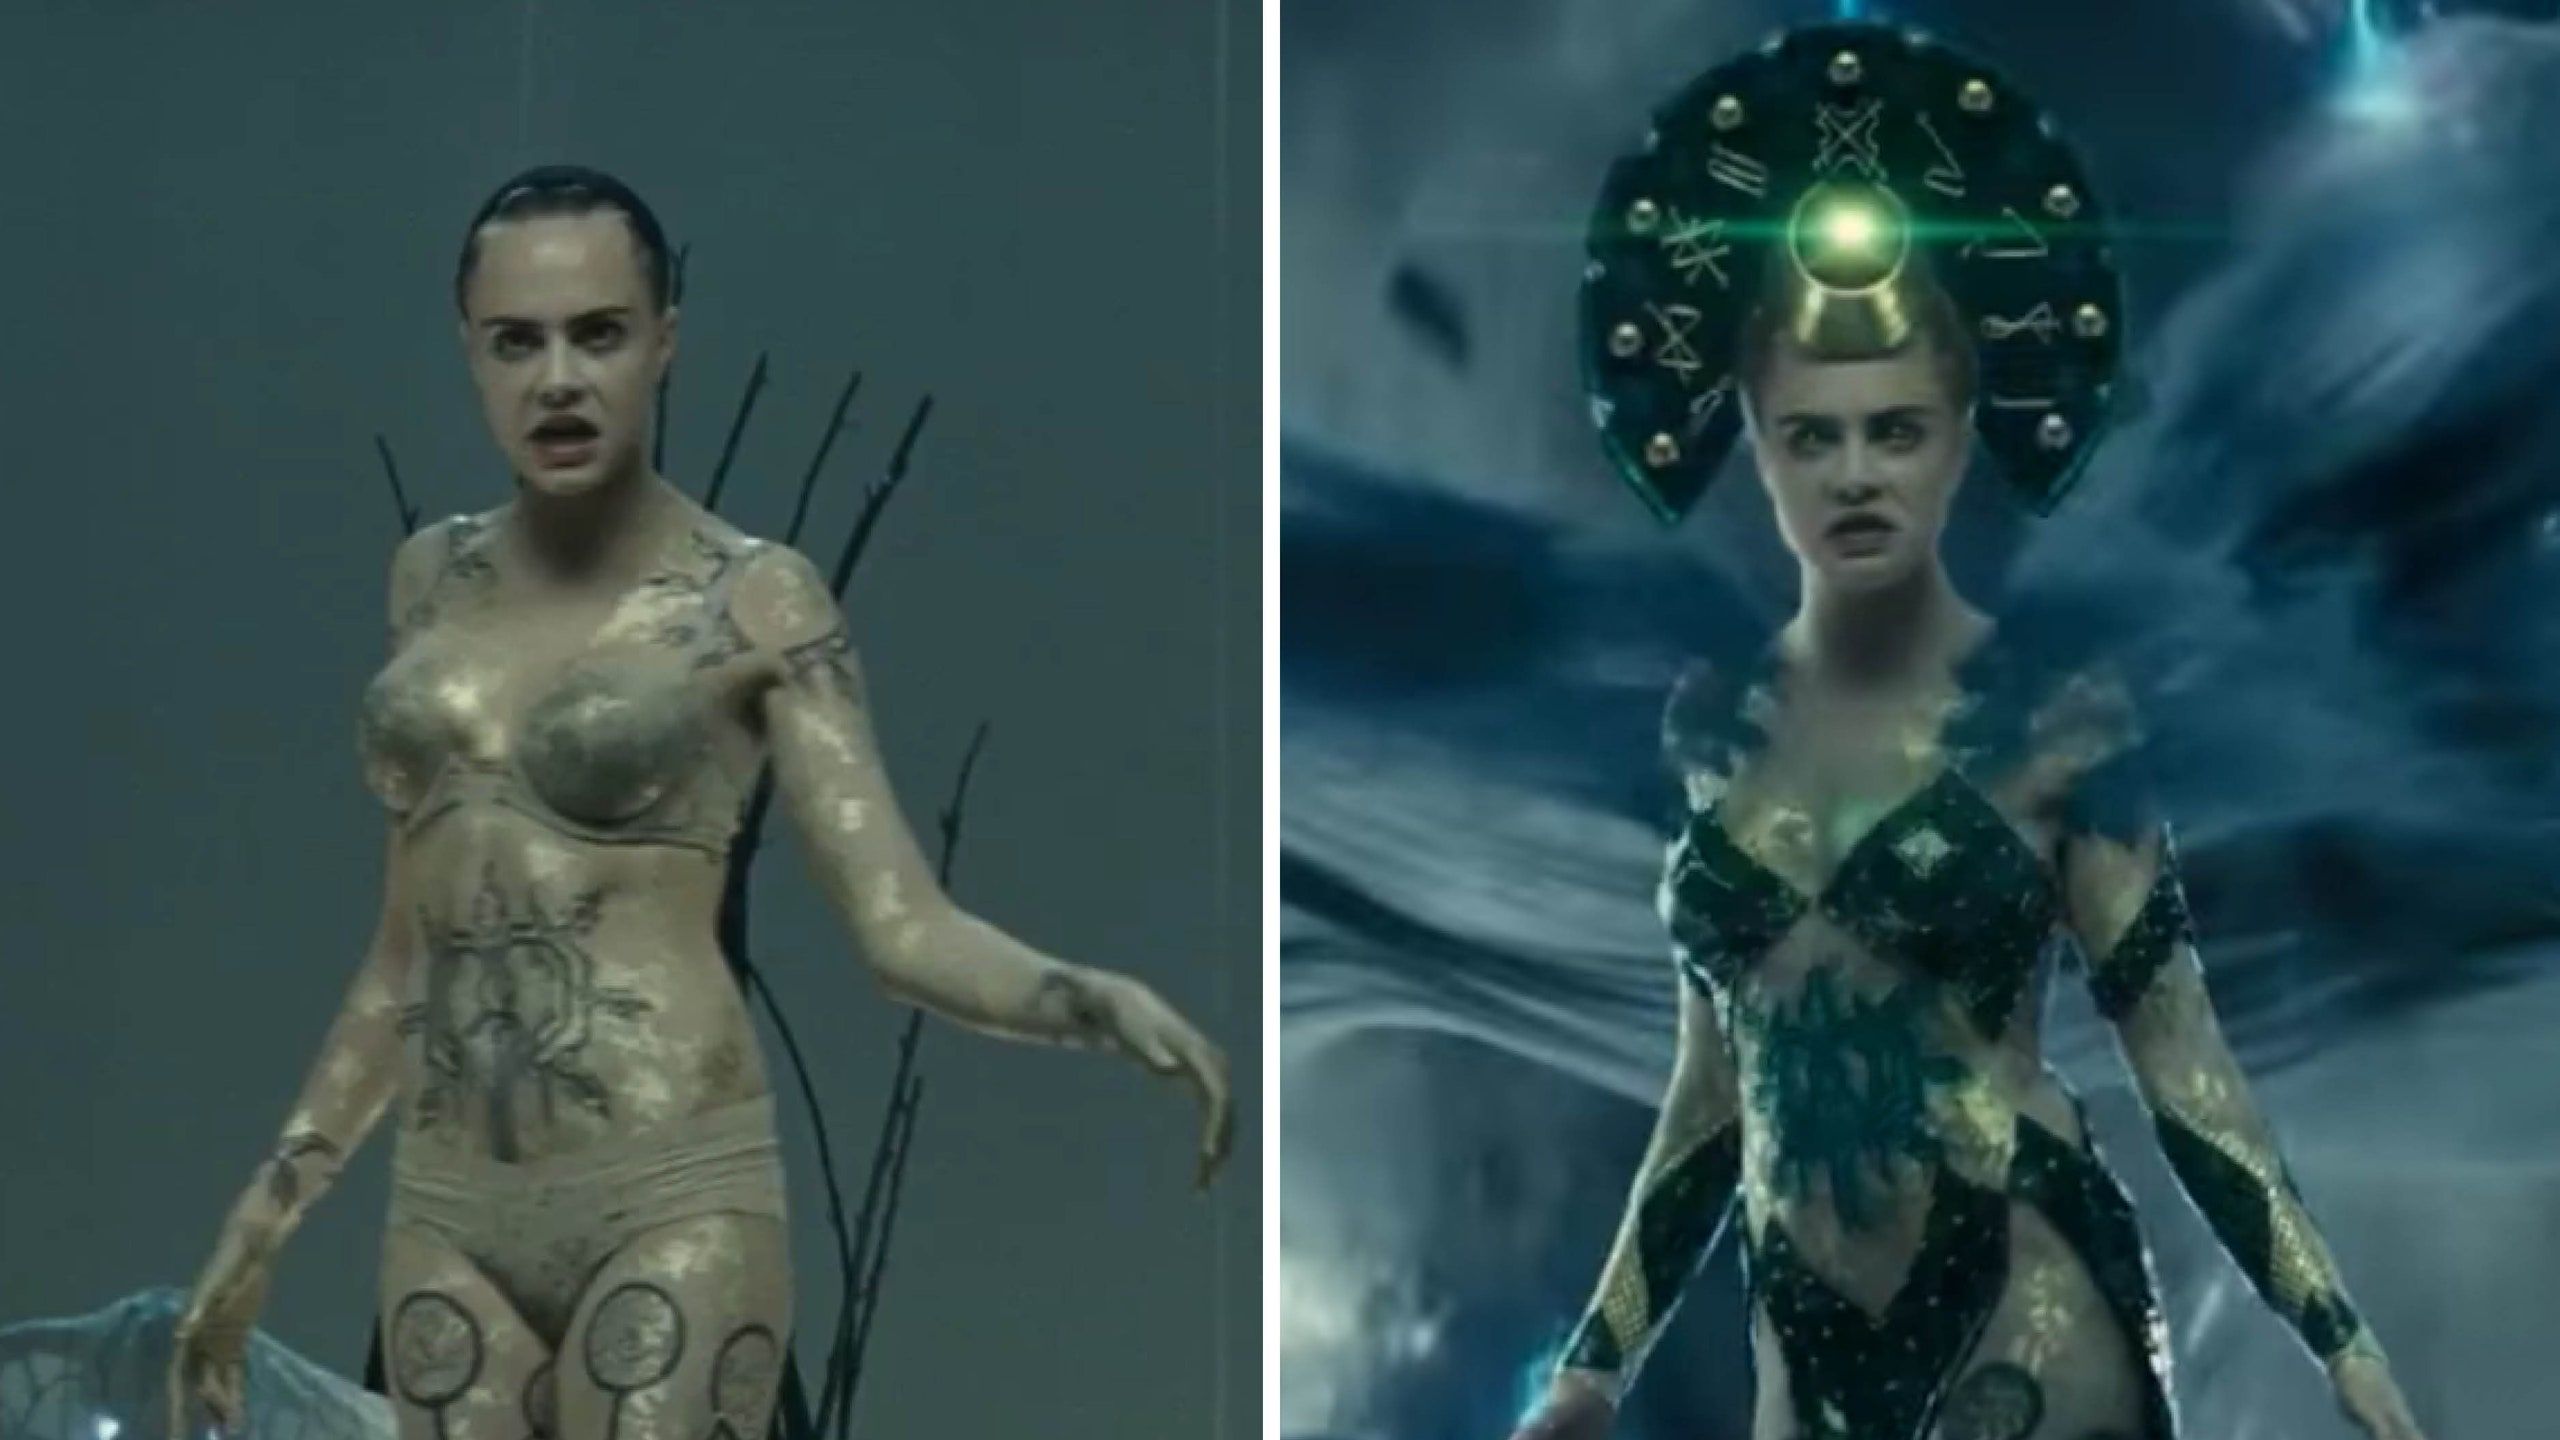
Played by Cara Delevigne, Enchantress is a semi CG character. When she’s in her Jade outfit, basically the only part of her that is real is her face, and even then, we replace her face in a few shots.

The rest of her body is all computer generated, a mixture of some great tracking, animation, simulation and shading. It may not look as realistic in the final film, with all her glowing tattoos and other effects, but if you were to see the CG model without all of that, there are several shots where all we could do to distinguish them was to look for her eyebrows (our model didn’t have eyebrows for a while).
We made use of some new skin shading technology, a new muscle simulation technology and a lot of talented artist time to recreate Ms.Delevigne in CGI.
Python for Suicide Squad
We made a lot of use of Python for the movie to make our lives easier and create new pipelines.
Muscle Simulation Pipeline
To get Enchantress to look as realistic as possible, we had to simulate the muscles under her skin.
About the same time we were doing this, Ziva Dynamics were doing closed betas of their new mucle simulation technology. These are the same guys who did the amazing muscle work at Weta and now have their systems for sale for both feature film but also for interactive video games. (Seriously, their realtime VR demo is mindblowing).
Our character artist who was doing the sims needed to work in stages.
- Take the animation and prepare it
- Simulate the Bones (some bones are flexible) and write out their geometry cache.
- Simulate the muscles on top of the bones, and cache them out.
- Simulate a fascia on top of the muscles
- Simulate the fat and the skin sliding on top of this fascia.
- Simulate the tight clothing sliding on the skin.
While we used Ziva for the actual simulation, we still needed a new pipeline to procedurally handle all these stages.
So I built a framework where the artist could provide a list of stages and their dependencies, as well as a construction class that would set up the sims. Then my tool would figure out the dependency graph, generate all the data needed at each stage to feed the next and finally send it on through to the lighting department.
The framework was completely built using Python and in fact does not rely on Ziva at all, but does support it where needed.
This became especially useful when having to run through multiple shots as once, but it meant that setups could be reused for characters with little work.
Ingesting Motion Capture Data

For this show, we had a lot of motion capture data that needed to be ingested. But we had some big problems that made it slow to do so manually.
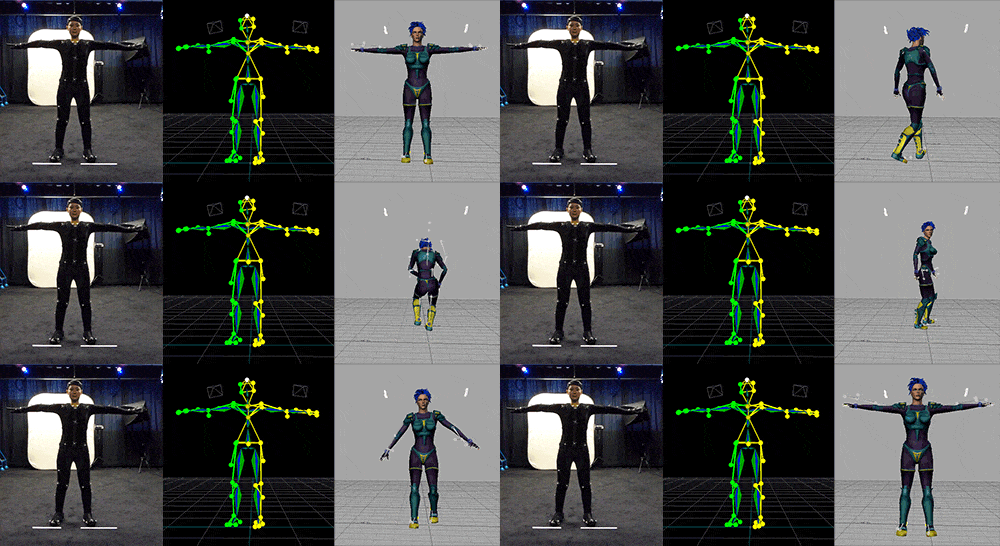
Our motion capture vendor had their own naming conventions for scene files. The motion capture rigs weren’t directly compatible with our production rigs and required some manual work. We needed to then playblast these and add them to our animation library. Doing this manually would have taken roughly 20 Minutes per captured clip, if I had no issues.. We had a couple hundred clips. That would be a full weeks work to do just one iteration over all of them.
This is where Python was super useful. I figured out the steps and scripted it all up. It could be done in a couple hours instead.
Given a list of files, it would:
- Convert it to our naming conventions
- Create a tracking camera to playblast it
- Transfer the animation to our production rigs
- Add these to our animation library
- Send out an email
That meant I could start the process, go to my meetings, come back and it would be done.
That’s a lot of time saved.