This post was originally part of my series on Python for Feature Film on my personal site, but is being ported here with minor changes. The dates have been adjusted to match release dates for the projects.
In Part 4 of my blog series, I’ll be going over what it was like to work on Hotel Transylvania 2 as well as how we used Python during its production.
This was the first project I’ve done where I was on it from the very beginning and it’s a really great experience being able to shape the foundations of the movie itself.
Additionally, I basically grew up watching Dexter’s Labarotory and Samurai Jack, so being able to work with Genndy Tartakovsky was something I was so psyched to do.
In the end it turned out to be a very difficult film to work on, with many changes to the story, a lot of crowds, large environments and a team that was fairly new to the studio.
challenges of The Project
Hotel Transylvania 2 was probably one of our most challenging animated features at the time. This section goes over some of the challenges we had:
Animation Style
If you’re at all familiar with Genndy, you know he loves to do really over the top animation, where each frame is sculpted to be like how a 2D animator would work. This means we were often pushing the character rigs way past where the rig would go and animators would sculpt their characters on a per frame basis to get the graphic style necessary.
Characters and Crowds
The movie had north of 200 hero characters, and a further 250+ variation characters. With close to 500 characters, versus a typical animated feature that had under a hundred, we were pushing new grounds. Additionally it wasn’t unheard of single shots that had close to a hundred characters in them at a given time.
This made for a huge amount of work managing so many assets, but also a huge use of our crowd system that helped animators push out shots even when there was so much going on. Other movies since have continued to push past these numbers, with the upcoming Emoji movie trying to take our crown, while Storks had shots with close to 800 characters in scene at once.
Cloth and Hair
We spent a lot of R&D upgrading our cloth and hair systems for this show.
We had Dennis, the child, who had a lot of red, curly hair. We had characters transforming shapes while wearing multiple layers of clothing. We had shots where animators would sculpt their characters into shapes that could never exist.
There had to be a way to get physically simulated cloth and hair, while still maintaining the graphic style that Genndy loves and is known for.
Large Environments
Environments were both incredibly large but also very dense. To tackle this, we had to make heavy use of instancing to keep our memory usage low.
We also were often traversing outside the region of floating point precision, where graphics calculations and simulation start breaking down. This required the development of a new way to efficiently handle scenes where we’d travel outside this region.
Python on Hotel Transylvania 2
To get through this show, we had to work as efficiently as possible. Here’s a sampling of the Python tools I developed on this show.
Working at Origin
There were several shots that involved our characters moving great distances.
The problem with this is that eventually you move outside the limits of what computers can accurately represent and you start getting floating point precision errors.
This manifests itself in errors like simulations and other calculations having little bugs or even crashing the applicatiion. Traditionally, movies work around this by centering the scene at the center of the world at the beginning of each shot. Unfortunately for us, we had single shots, and many of them, where we’d transition too far for this to work.
To work around this, I came up with a system that would take the scenes major character, find their world position, and offset the entire scene to the center of the world. This was implemented using Python to build a node network inside Maya, and today is implemented in a single custom C++ node.
This gives us the illusion that from the camera’s point of view, we’re still in the right spot, but really we’re working at the center of the world. When the animators move their character forward, it actually just moves the whole scene backwards.
Then these values are recorded and can be used to move them back to their actual world positions at render time. This lets all our departments to work in a very comfortable area.
Animators don’t have to keep moving their cameras. Cloth, Hair and FX can all work at the world center. Everyone is happy.
Rebuilding Animation
So we’ve got a lot of shots, a lot of characters, basically a lot of work. So let’s be smart and reuse as much as we can from the previous Hotel Transylvania film.
Should be easy right? Wrong. In the mean time we’ve changed our toolsets so significantly that our old geometry data is no longer that useful. We need to recreate all these old scenes so that we can use them. Close to 400 in total.
So they ask me to rebuild it all. This is where Python comes in handy, because I definitely was not going to do it manually. I have the names of the characters, I can use that to look up what characters they map to on the new show. I also can find their old cached animation curves.
So my tool would take a text file as input that told it what characters were in the scene and where. It then finds all the relevant data, rebuilds the scene using our new, shiny assets and within a day we have 400 scenes recreated as if they were done from scratch again.
If I did this manually, it would have taken a few months.
Augmented Reality
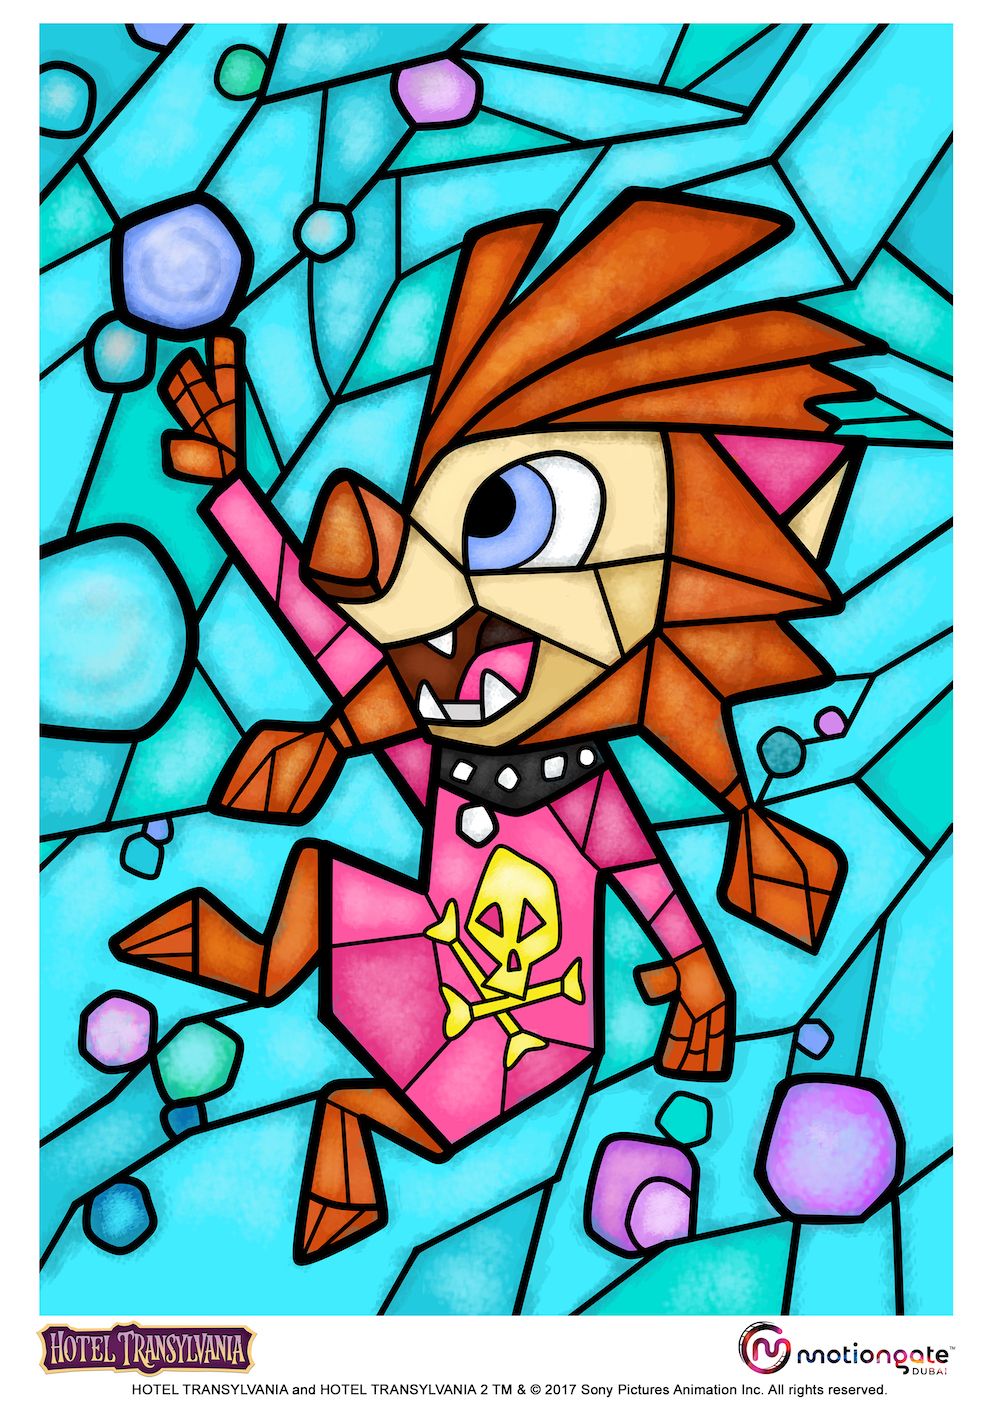
After the end of Hotel Transylvania 2, we partnered with a theme park in Dubai to create some Augmented Reality setups.
I was responsible for developing a publishing pipeline for this project, and handling the Unity side testing of our assets, though there was a Pipe TD who’d started this project off before I joined.
The final app using our assets was put together by AISolve, and you can download the app here and download the markers here.

30 fps
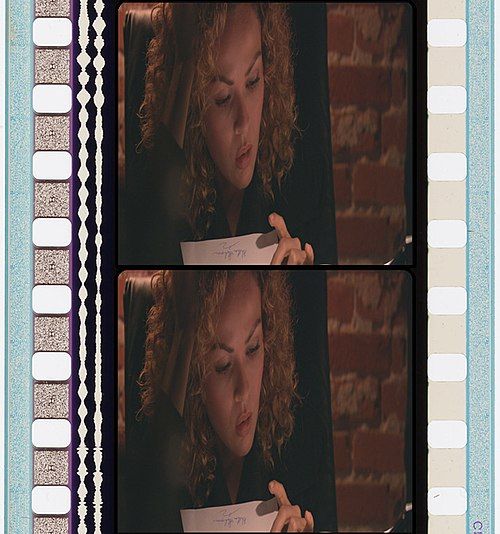
Animated features are typically done at 24fps like many films. Historically this is because it’s the slowest frame rate we can manage where optical sound tracks are still clear. Prior to optical sound, films used to range in framerate from 12 to over 50 in some scenarios.

However television is usually 30fps (well 29.97 but lets disregard drop frames). When we traditionally did commercials for TV, we’d perform a 3:2 pulldown to convert from our standard 24fps to 30fps.
This is usually fine, and people watching television commercials won’t notice. However, we were doing a commercial where we somehow contractually agreed to doing it in native 30fps.
This should have not been that big a deal, but after a few decades of code bases that assumed 24fps, it was quite a monumental task to get our tools running at 30fps.
Every stage of the pipeline had to be modified.
Editorial needed to be updated so their exports could handle 30fps. Their audio files were all exported to sync to 24fps sequences so had to be modified so our systems correctly saw them as 30fps audio when syncing them up.
Our various Alembic publishing and reading tools all assumed 24fps which meant we had to fix read and write operations in Maya, Katana, Houdini and Nuke.
In the end it was a LOT of work for a change many won’t notice, but it day pay dividends for future shows where it was now an easy toggle.